Starting a new hardware upgrade can feel a bit intimidating, but it is actually a straightforward project you can easily handle at home. With the right step-by-step instructions, a couple of basic tools, and just a little bit of patience, you will have your system upgraded in absolutely no time. This simple installation guide will walk you through the entire setup process. Here is how to install 35-ds3chipdus3 safely and efficiently.
Are you ready to finally unlock the absolute maximum power of your device without dealing with frustrating tech support or paying expensive technician fees? It is much easier than you think. By following this quick beginner-friendly tutorial, you will bypass all the usual setup headaches, save your valuable time, and successfully complete this essential hardware upgrade completely on your own.
Before diving in, remember that preparation is key to a smooth diy tech project. Always ensure you work in a static-free environment to protect your device components. This final configuration process guarantees optimal performance, giving your system the ultimate, reliable boost it truly deserves.
What is 35-DS3ChipDUS3 and Why It Matters
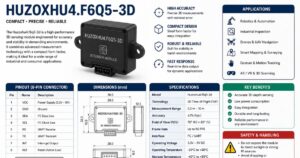
The 35-DS3ChipDUS3 is a state-of-the-art integrated circuit designed to optimize high-speed data processing. It manages how different internal parts communicate, ensuring your system runs smoothly. For anyone looking to boost performance, this hardware upgrade is essential for maintaining a fast, reliable, and highly efficient digital setup.
This advanced chip significantly reduces system latency and power consumption during heavy workloads. By upgrading your existing motherboard component, you allow your device to process complex data much faster. It matters because it prevents system bottlenecks and extends the overall lifespan of your daily hardware.
Investing in this technology keeps your computer relevant with 2026 system requirements. It provides a massive boost to multitasking, gaming, and heavy creative applications. Understanding how to install 35-ds3chipdus3 ensures you get the absolute best performance out of your machine without needing a full system replacement.
Tools and Requirements Before Installation
Before you begin, you must gather a few essential tech tools to ensure a safe process. Working on sensitive computer hardware requires the right environment to avoid permanent damage. Make sure your workspace is completely clean, well-lit, flat, and entirely free of static electricity.
| Tool Name | Primary Purpose | Safety Rating |
| Screwdriver | Opens case screws | High |
| Anti-Static Strap | Prevents static shock | Essential |
| Thermal Paste | Transfers chip heat | Critical |
You will need a small magnetic screwdriver, anti-static wrist strap, and some thermal interface material. Additionally, check that your current system firmware is updated to the latest version. Having these items ready beforehand prevents unnecessary delays and keeps your sensitive components completely safe.
Common Errors During Installation and Fixes
Many users accidentally misalign the pins on the circuit board during the initial attachment process. This common mistake can cause a complete system boot failure when you turn the power back on. To fix this, gently lift the chip and re-align it using the corner guide marks.
- Always double-check the pin alignment before applying any downward physical pressure to the new chip.
- Keep your workspace free of dust to protect the delicate printed circuit board during setup.
- Never use excessive force when locking the main retaining clip into its final position.
- Disconnect the main power supply unit completely before touching any internal electronic parts today.
- Ground yourself continuously to eliminate harmful electrostatic discharge that damages fragile microchips very easily.
- Update your computer BIOS immediately if the system fails to recognize the hardware change.
Another frequent issue is applying too much thermal compound across the top surface. Excessive paste spills over the edges and disrupts the electrical connectivity of surrounding parts. Simply clean the excess liquid using isopropyl alcohol and a lint-free cloth before restarting.
Troubleshooting 35-DS3ChipDUS3 Issues
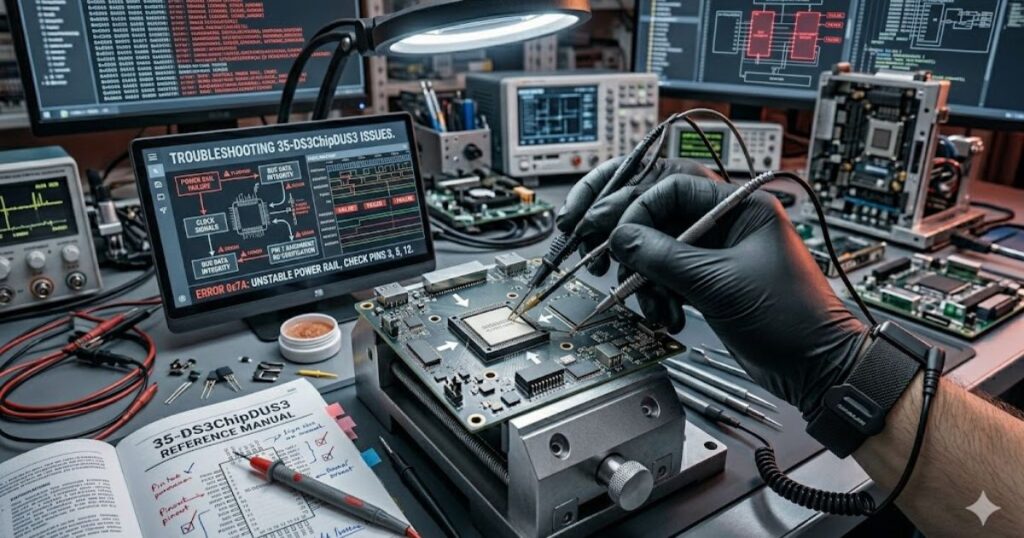
If your device displays a blank screen, the device drivers might be severely outdated. A conflict in your operating system configuration can prevent the new hardware from communicating properly. Boot your computer into safe mode to safely install the correct factory software updates.
Persistent overheating usually indicates poor contact with the cooling heat sink element. If your system shuts down randomly, the thermal regulation system is likely triggering a safety kill-switch. Remount the cooling fan tightly to ensure constant, even pressure across the chip.
Unusual system noises or error codes point to a loose hardware connection inside. Check that all internal data cables are firmly seated in their respective slots. Resetting the motherboard CMOS memory often clears lingering errors and restores stable system functionality instantly.
Maintenance Tips After Installation
To keep your system running perfectly, schedule regular internal dust cleaning every few months. Dust buildup acts like a blanket, trapping heat and lowering hardware efficiency over time. Use compressed air to clean out the cooling vents without touching any sensitive surfaces.
Monitor your operating temperatures weekly using reliable hardware diagnostics software. Keeping track of these metrics helps you spot potential cooling issues before they cause system instability. Consistent thermal management ensures your upgraded machine delivers peak processing speeds for years.
Finally, keep your system firmware updates current to maintain total compatibility with new apps. Software optimization directly impacts how well your hardware handles modern digital tasks. Taking care of these small details protects your investment and ensures long-term device reliability.
Safety Precautions You Must Follow
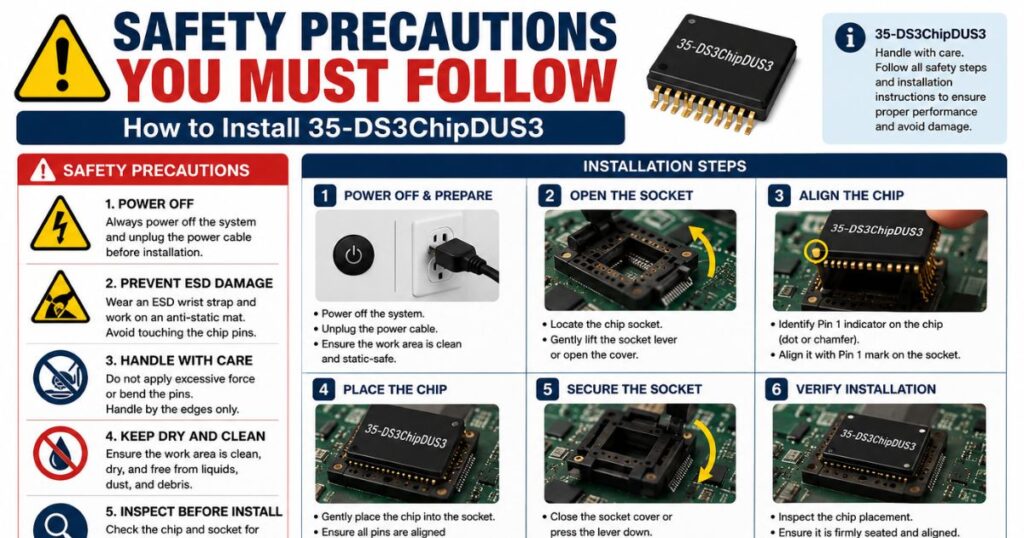
Before touching any internal electronics, you must completely disconnect your device from the main power supply. Working on live circuits poses a serious risk of electrical shock and can instantly destroy your sensitive hardware components. Always wear an anti-static wrist strap and work on a non-conductive surface like a wooden desk. This simple step safely eliminates harmful electrostatic discharge before it can ruin your expensive chip.
Step 1: Preparing Your Device for Installation
Power down your system fully and unplug every single external cable from the back of the chassis. Open the main outer casing gently to reveal the clean, organized layout of your motherboard architecture. Use a can of compressed air to blow away any lingering dust bunnies trapped inside the cooling vents. Clean surroundings prevent microscopic particles from blocking the critical electrical connection paths during the physical installation process.
| Preparation Task | Tools Required | Time Needed |
| Disconnect Power | None | 1 Minute |
| Remove Outer Case | Screwdriver | 3 Minutes |
| Clean Internal Dust | Compressed Air | 2 Minutes |
Step 2: Identifying the Correct Chip Slot
Consult your device manual to locate the exact upgrade socket designated for this specific unit. Look for a small, rectangular slot surrounded by protective metal pins near the central processing unit area. Modern 2026 motherboards use clear color-coded markings to help you distinguish this specific slot from adjacent memory lanes. Finding the right spot ensures your new hardware communicates flawlessly with the existing system bus layout.
- Match the unique slot notch pattern with the physical shape of your new chip.
- Look for explicit text labels printed directly on the main green circuit board surface.
- Check that the surrounding locking levers are flipped completely open before you proceed further.
- Avoid touching any nearby gold capacitor pins to prevent accidental static shock damage today.
- Ensure no stray power wires are blocking your direct line of sight right now.
- Verify the slot is completely free of debris before trying to insert anything inside.
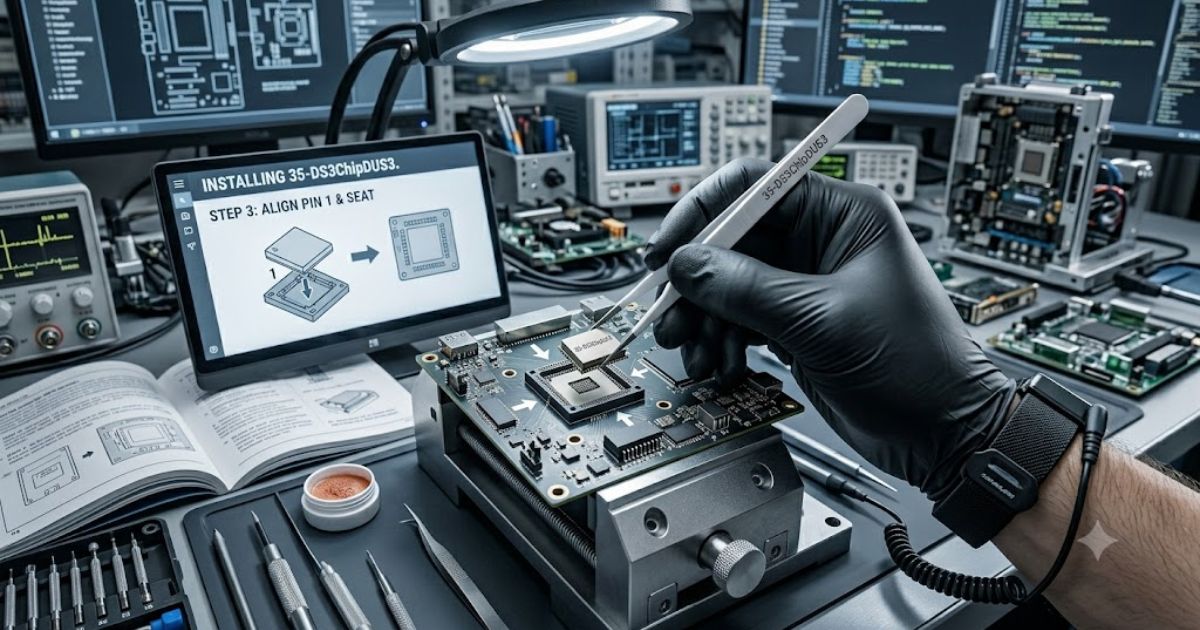
Step 3: Proper Placement of 35-DS3ChipDUS3
Carefully align the corner orientation triangle on the chip with the matching mark on the socket. Gently lower the hardware straight down without applying any heavy downward physical pressure or forcing it. The component should sit completely flush within the guide rails if it is aligned correctly. This precise pin alignment technique prevents bending the delicate connection points that handle your vital data transmission signals.
Once the chip settles naturally into the slot, double-check that all four sides are perfectly even. If the component looks tilted or uneven, gently lift it back out and try again. Forcing an unaligned chip into place will cause permanent hardware interface damage and ruin the unit completely. Take your time during this critical phase to ensure the physical connection is absolutely flawless.
Step 4: Securing the Chip Safely
Gently lower the main metal retention bracket over the newly seated component to hold it down. Push the side locking lever down firmly until it clicks securely into its designated plastic hook. This mechanical pressure ensures the chip maintains constant, stable contact with the lower electrical grid array. A secure lock keeps the unit perfectly stable, even during heavy system vibration cycles later on.
| Securing Step | Action Required | Safety Check |
| Lower Bracket | Flip metal cover down | Check alignment |
| Engage Lever | Push arm into hook | Listen for click |
| Inspect Fit | Verify flush seating | No loose movement |
Step 5: Connecting Necessary Hardware Components
Attach the secondary power cables directly to the designated ports located right next to the socket. Next, apply a tiny, pea-sized drop of high-performance thermal paste onto the center of the chip surface. Carefully mount the cooling fan or heat sink assembly directly on top of the greased component. Proper thermal coupling is absolutely vital for managing heat dissipation levels when the system is running heavy tasks.
- Tighten the cooling fan mounting screws in a diagonal cross pattern for even pressure.
- Plug the small fan power connector into the nearest dedicated motherboard header pins.
- Keep all loose internal data cables neatly tied back away from spinning fan blades.
- Route the main power wires cleanly to allow optimal internal cooling airflow through case.
- Inspect every single cable connection to ensure they are clicked completely into place.
- Double-check that no tools or loose screws are left lying inside the machine.
See more :: SnapJotz com Explained: Features, Benefits, Safety, and Everything You Need to Know
Step 6: Installing Drivers or Firmware Setup
Turn on your computer and immediately press the setup key to enter the system BIOS menu. Ensure the motherboard successfully detects the new hardware addition under the primary device configuration tab. Once your operating system boots up normally, download the latest 2026 official digital drivers from the manufacturer website. Updating this vital system control software allows your OS to utilize the new chip features.
Run the downloaded installer file as an administrator to ensure all files copy over correctly. Follow the on-screen prompts to complete the software integration process without interrupting the active installation wizard. Restart your computer immediately after the setup finishes to finalize the new driver configuration parameters. This step ensures your operating system recognizes the upgrade and functions with maximum stability.
Step 7: System Configuration After Installation
Open your system management console to adjust the specific resource allocation settings for your upgraded machine. Allocate sufficient virtual memory to allow the new chip to process intensive data streams without lagging. You can also customize the automated thermal fan curves to optimize how your cooling setup responds to temperature spikes. Proper configuration prevents unexpected bottlenecks and keeps your overall hardware efficiency incredibly high.
Review the advanced power management profiles to ensure the chip receives a steady, optimal voltage supply. Avoid overclocking the component immediately, as it needs time to stabilize under standard factory operational parameters. Fine-tuning these internal software variables ensures the hardware blends seamlessly with your existing operating system environment. A well-configured system delivers smoother performance and experiences far fewer sudden software crashes over time.
Step 8: Testing and Verifying Installation
Launch a reliable hardware diagnostic utility to run a comprehensive benchmark test on your upgraded device. Monitor the real-time processing speeds and internal temperatures closely to confirm everything is working within safe parameters. The diagnostic report should show a significant boost in data handling efficiency and zero errors. Successful testing proves your diy tech upgrade was completed with absolute perfection.
Keep the diagnostic software running in the background for an hour during normal daily use. This extended stress test helps verify long-term system stability under realistic, everyday operational workloads. If the device remains cool and responsive, your installation is officially complete and ready for action. Enjoy the fast, reliable power boost that your newly upgraded system now delivers.
FAQ’s
Q1: What does this upgrade do?
It improves your computer’s overall data processing speed, significantly reduces lag, and optimizes system performance for demanding modern applications.
Q2: How to install 35-ds3chipdus3 safely?
To learn how to install 35-ds3chipdus3, simply power off your device, align the pins correctly, and secure the lever.
Q3: Is any special tool needed?
No complex tools are required; you just need a standard screwdriver and an anti-static wrist strap for a safe hardware installation.
Q4: Where can I find how to install 35-ds3chipdus3?
You can discover how to install 35-ds3chipdus3 by reading this guide or checking the manufacturer’s official step-by-step setup manual.
Q5: Who needs to know how to install 35-ds3chipdus3?
Any tech enthusiast looking to upgrade their device efficiency should learn how to install 35-ds3chipdus3 for a seamless system configuration.